2. Create an Agent with the CLI
In this section, we will create an agent using ant, the Claude Platform CLI.
1. Set up the ant environment
Section titled “1. Set up the ant environment”-
Install ant.
-
From the
antreleases page, downloadant_{version}_windows_amd64.zip. -
Extract it to any location.
-
Launch
powershell.exein the extracted folder. -
Set the character encoding to UTF-8 so that non-ASCII text in command output does not get garbled.
Terminal window $OutputEncoding = [Console]::OutputEncoding = New-Object System.Text.UTF8Encoding $false
- Open a terminal and run the following command.
Terminal window brew install anthropics/tap/ant
-
-
Run
ant auth login.- Run the following command.
Terminal window ./ant auth login
- Run the following command.
Terminal window ant auth login
- Run the following command.
-
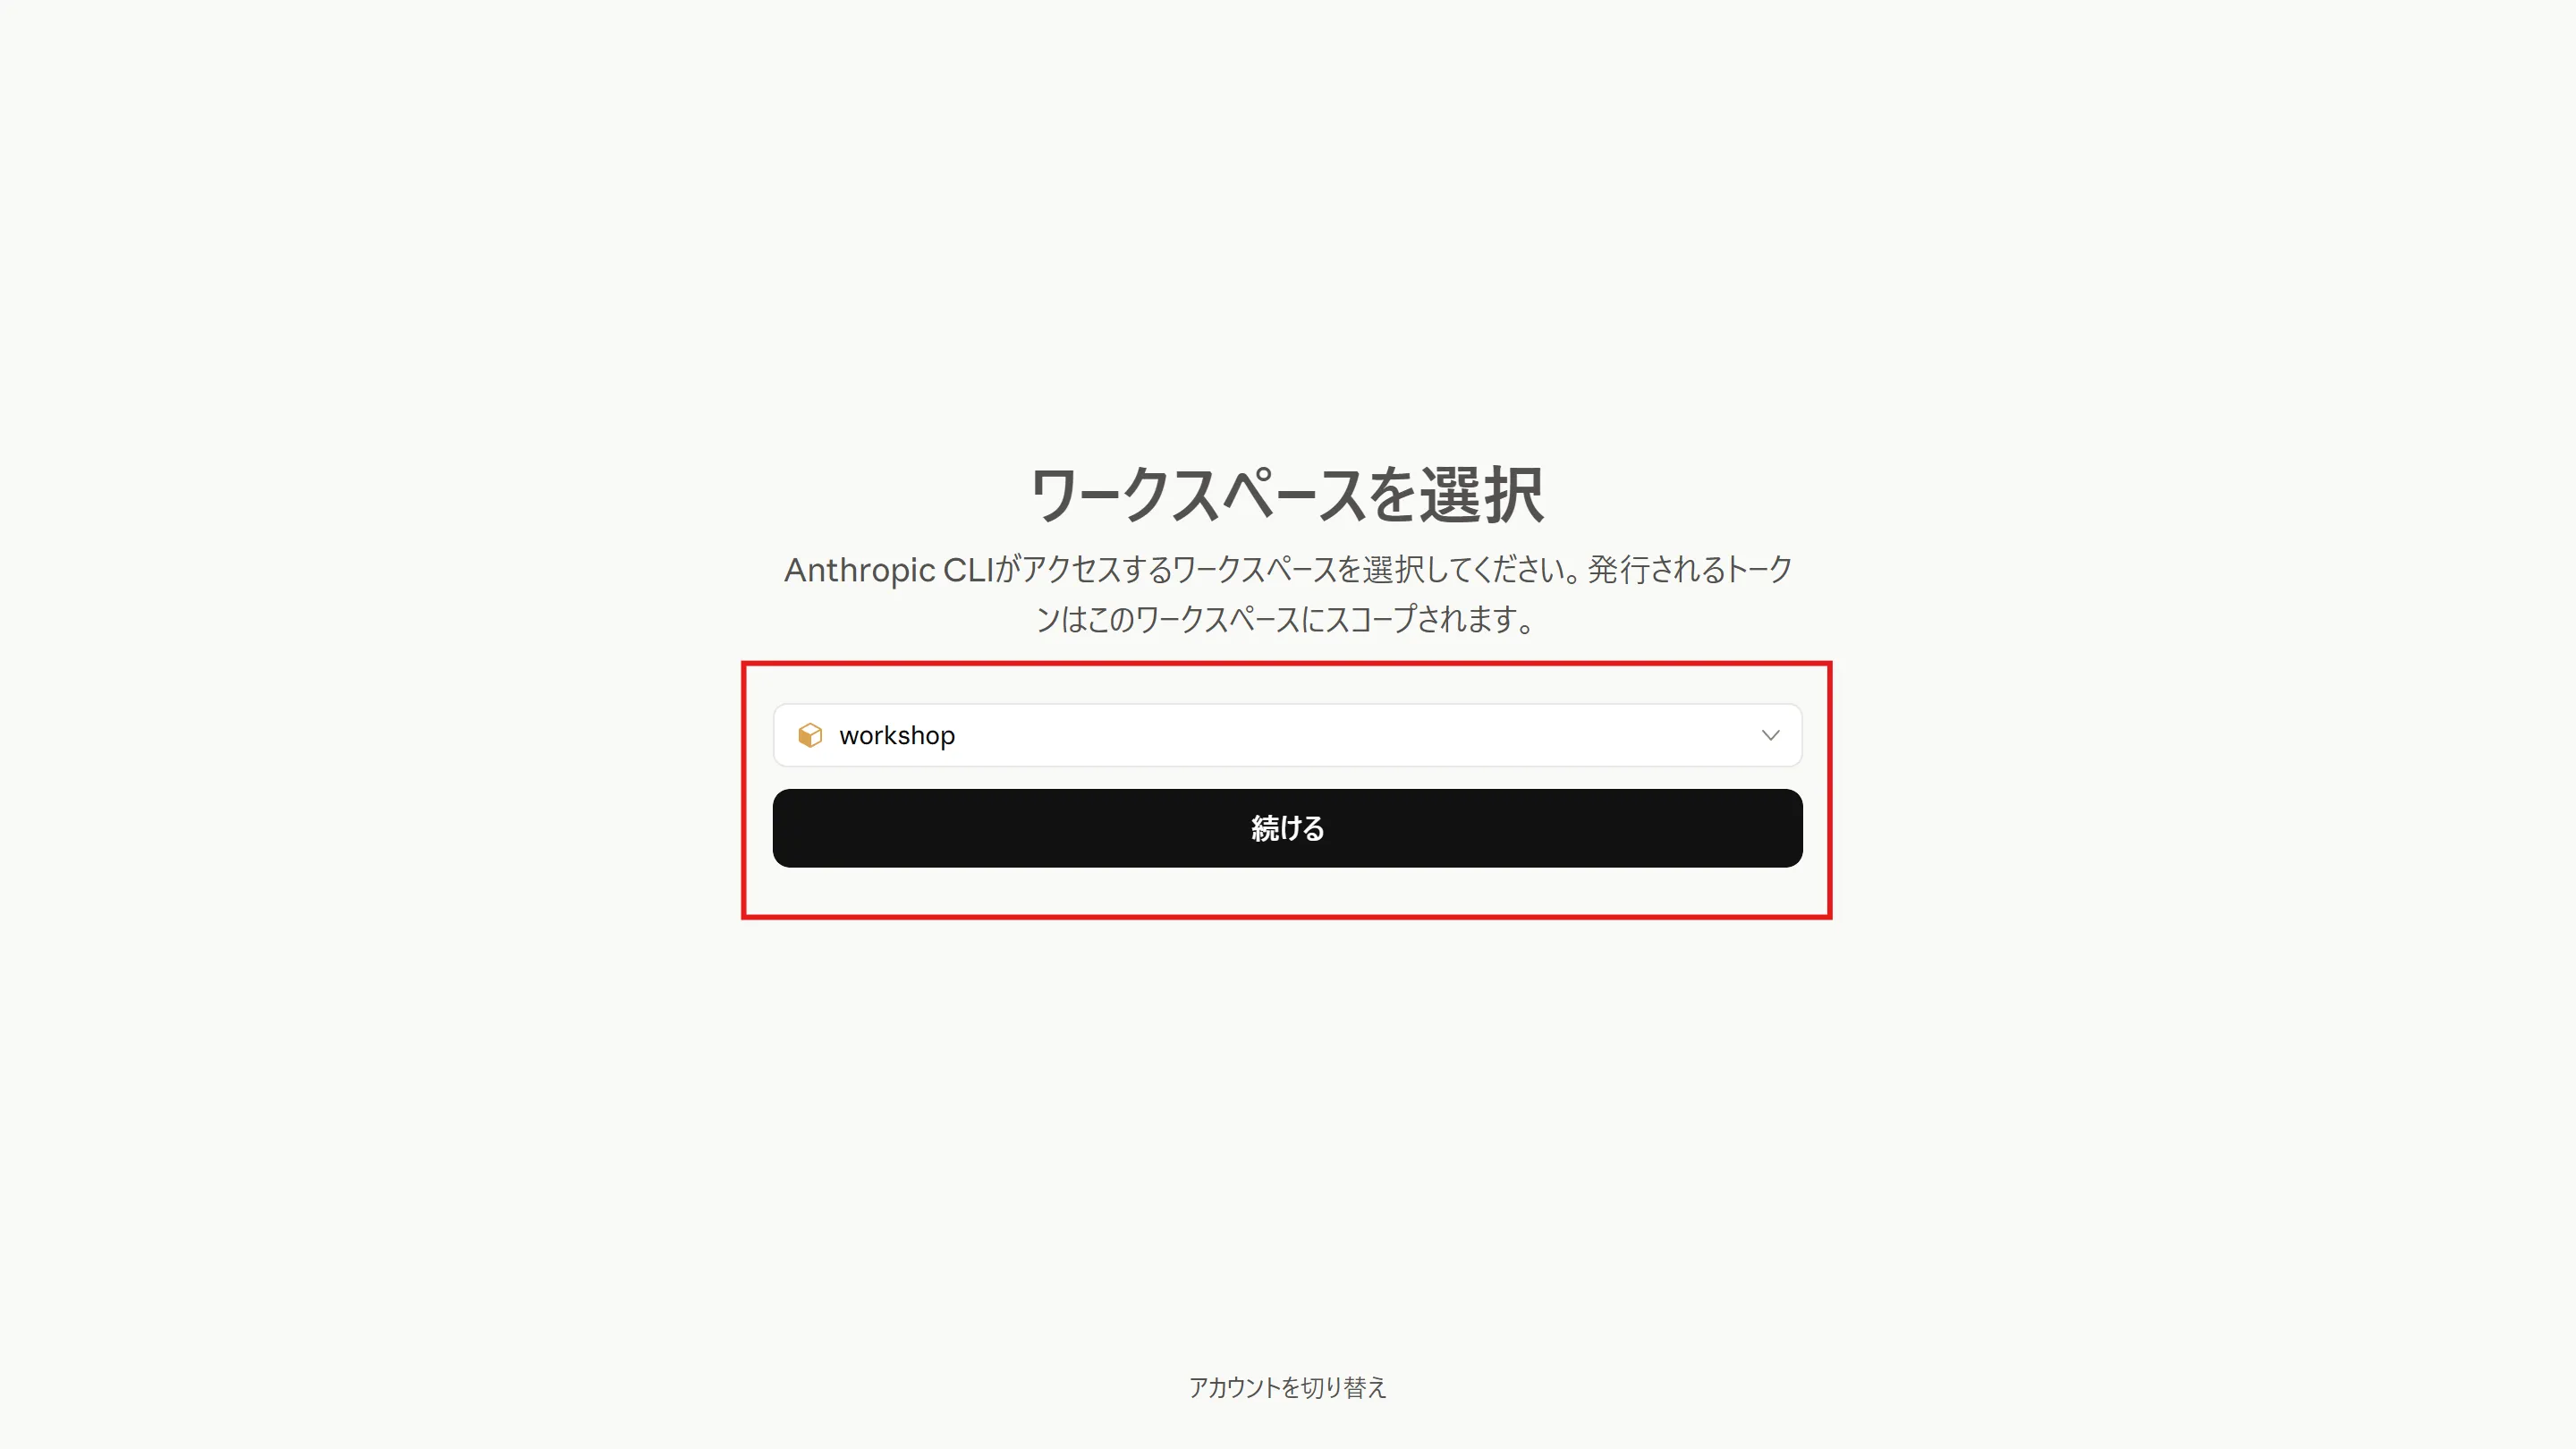
Log in via your browser.
2. Create a credential vault
Section titled “2. Create a credential vault”From here on, we will recreate the same setup you built through the UI in 1. Create an Agent in the Console (credential vault → environment → agent → session), this time entirely with ant commands. To avoid name collisions with the console version, the CLI versions have “-cli” appended to their names.
-
Create a vault and save its ID in a variable.
Terminal window $VAULT_ID = ./ant beta:vaults create --display-name "Vault-cli" --transform id --raw-outputTerminal window VAULT_ID=$(ant beta:vaults create --display-name "Vault-cli" --transform id --raw-output)Display the contents of the variable and confirm that an ID starting with
vlt_has been saved.Terminal window $VAULT_IDTerminal window echo "$VAULT_ID" -
Add your Jina AI API key to the vault as a credential. Replace
YOUR_API_KEY_HEREwith your actual API key before running (the command is a single line).Terminal window ./ant beta:vaults:credentials create --vault-id $VAULT_ID --display-name "Jina-ai-cli" --auth '{type: static_bearer, mcp_server_url: https://mcp.jina.ai/v1, token: YOUR_API_KEY_HERE}'Terminal window ant beta:vaults:credentials create --vault-id "$VAULT_ID" --display-name "Jina-ai-cli" --auth '{type: static_bearer, mcp_server_url: https://mcp.jina.ai/v1, token: YOUR_API_KEY_HERE}'
3. Create an environment
Section titled “3. Create an environment”-
Create an environment that allows network access to MCP servers, and save its ID in a variable (the command is a single line).
Terminal window $ENVIRONMENT_ID = ./ant beta:environments create --name "Jina-environment-cli" --config '{type: cloud, networking: {type: limited, allow_mcp_servers: true}}' --transform id --raw-outputTerminal window ENVIRONMENT_ID=$(ant beta:environments create --name "Jina-environment-cli" --config '{type: cloud, networking: {type: limited, allow_mcp_servers: true}}' --transform id --raw-output)Display the contents of the variable and confirm that an ID starting with
env_has been saved.Terminal window $ENVIRONMENT_IDTerminal window echo "$ENVIRONMENT_ID"
4. Create an agent
Section titled “4. Create an agent”-
In the folder where you are running the commands, create a file named
agent.yamlwith the following content.agent.yaml name: Jina Web Research Agent CLImodel:id: claude-haiku-4-5speed: standarddescription: A demo agent for web search, page reading, and academic research using the Jina AI MCP server.system: You are a research assistant that leverages Jina AI's search and reading tools. When you receive a question, use search_web (or search_arxiv / search_ssrn for academic topics) to find relevant sources, then use read_url or parallel_read_url to fetch the full text of promising results. Do not rely on search result snippets alone. Combine information from multiple sources, cite the URLs you used, and clearly indicate any uncertainty or conflicting information. For efficiency, prefer the parallel_* tools when searching or reading multiple sources at once. If asked to summarize or extract facts from a specific page, read that page directly with read_url. Keep your answers concise and well organized, and base them on the retrieved content rather than prior knowledge.mcp_servers:- name: jinatype: urlurl: https://mcp.jina.ai/v1tools:- type: mcp_toolsetmcp_server_name: jinadefault_config:enabled: truepermission_policy:type: always_allowskills: []metadata: {} -
Create the agent by feeding it
agent.yaml, and save its ID in a variable.Terminal window $AGENT_ID = Get-Content agent.yaml -Raw -Encoding UTF8 | ./ant beta:agents create --transform id --raw-outputTerminal window AGENT_ID=$(ant beta:agents create --transform id --raw-output < agent.yaml)Display the contents of the variable and confirm that an ID starting with
agent_has been saved.Terminal window $AGENT_IDTerminal window echo "$AGENT_ID"
5. Create a session
Section titled “5. Create a session”-
Confirm that all three IDs saved so far are in place.
Terminal window $AGENT_ID; $ENVIRONMENT_ID; $VAULT_IDTerminal window echo "$AGENT_ID"; echo "$ENVIRONMENT_ID"; echo "$VAULT_ID" -
Create a session by specifying the agent, environment, and vault IDs, and save its ID in a variable (the command is a single line).
Terminal window $SESSION_ID = ./ant beta:sessions create --agent $AGENT_ID --environment-id $ENVIRONMENT_ID --vault-id $VAULT_ID --transform id --raw-outputTerminal window SESSION_ID=$(ant beta:sessions create --agent "$AGENT_ID" --environment-id "$ENVIRONMENT_ID" --vault-id "$VAULT_ID" --transform id --raw-output)Display the contents of the variable and confirm that an ID starting with
sesn_has been saved.Terminal window $SESSION_IDTerminal window echo "$SESSION_ID"
6. Invoke the agent
Section titled “6. Invoke the agent”-
You will use two terminals: one receives events in real time while the other sends the message. First, start streaming events in the window you have been using so far (terminal 1).
Terminal window ./ant beta:sessions:events stream --session-id $SESSION_ID --format jsonlTerminal window ant beta:sessions:events stream --session-id "$SESSION_ID" --format jsonlLeave the command running and let it wait for events to arrive. Because
--format jsonlis set, events are printed one per line in JSON format. -
Open a new window (terminal 2) and get ready to send. Variables are independent per window, so set
$SESSION_IDin terminal 2 as well. Replaceyour session ID herewith the ID starting withsesn_that was displayed in 5. Create a session (you can find it by scrolling back through terminal 1).Start a new PowerShell in the folder where you extracted
antand run the following.Terminal window $OutputEncoding = [Console]::OutputEncoding = New-Object System.Text.UTF8Encoding $false$SESSION_ID = "your session ID here"Open a new terminal and run the following.
Terminal window SESSION_ID="your session ID here" -
Send the message from terminal 2 (the command is a single line).
Terminal window ./ant beta:sessions:events send --session-id $SESSION_ID --event '{type: user.message, content: [{type: text, text: "Search for the latest papers on RAG"}]}'Terminal window ant beta:sessions:events send --session-id "$SESSION_ID" --event '{type: user.message, content: [{type: text, text: "Search for the latest papers on RAG"}]}'Once you send it, events starting with
user.messagebegin to flow in terminal 1. Following the MCP tool calls (agent.mcp_tool_use), the answer arrives as thetextof anagent.messageevent. Whensession.status_idleappears, the run is complete.After you have checked the answer, press
Ctrl+Cin terminal 1 to stop the stream.If you missed the output, you can check it in the event history. Events are printed one per line, and the
texton theagent.messageline is the answer.Terminal window ./ant --format jsonl --transform '{type,text:content.0.text}' beta:sessions:events list --session-id $SESSION_IDTerminal window ant --format jsonl --transform '{type,text:content.0.text}' beta:sessions:events list --session-id "$SESSION_ID" -
If you open the same session from the “Sessions” menu in the console, you can also review the conversation on screen.
Summary
Section titled “Summary”- We reproduced the same setup we built in the console (vault → environment → agent → session) using nothing but
antcommands. - Beta APIs are called with
beta:-prefixed commands. We used--transform id --raw-outputto extract just the ID from each response and passed it to the next command via variables. - Configuration can be passed either as one-line flags (
--auth,--event) or as a YAML file (agent.yaml). - To interact with a session, send messages with
events sendand check results withevents stream(or by listing the event history).
Great work! Please share your thoughts so far in a post on X.
Share your thoughts on X